It's been a crappy spring for dry fly trout fishing. I've been struggling to find a reliable hatch and rising trout for two months now, minus a couple 30 minute spinner fall sessions. Instead of the typical mayfly hatch-matching tying frenzy I get into this time of year I've moved on to bass.
Poppers are awesome to fish and equally awesome to tie. There are many ways to create these things, even kits that come complete with hooks and shaped foam. This year I tried a new (to me) technique when I found some cheap cork at a local craft store. I made a few, caught some fish, and now I'll share how I did it. You can click on the photos for a better look, and feel free to leave a comment with any questions about this fly.
 |
Step 1: Start with the corks and a razor knife. Make sure it's a fresh blade. (kids should ask an adult for help!)
|
 |
| Step 2: Cut a channel out of the cork carefully. Cut away from the fingers with firm even pressure towards the table. |
 |
| Here's a detailed look at the channel... try and make it look like a V if you can. |
 |
| Step 3: Get a hook with a wide gap and tie some thread where the popper's gonna go. Make the thread kind of sloppy and the glue will stick better. |
 |
| Step 4: Apply a little super glue on the thread, and in the channel of the cork. Don't use too much or it will take too long to dry. |
 |
| Step 5: Wedge the cork on there. If you got the cash or the time you can UV or epoxy the channel. |
 |
| Step 6: Let the glue dry. If you do multiple poppers at once the first one should be dry by the time you get the rest done. |
 |
| Step 7: Get a bodkin to make a hole for the front legs. |
 |
Step 8: Poke the bodkin through (kids again should ask for help here) making sure you are perpendicular to the hook, level, and not gonna stab your hand on the other side.
|
 |
| Step 9: Get some permanent markers, colors are up to you! You could paint it too, but markers are cheap and dry really fast. |
 |
| Step 10: Color that thing up, pretend it's a frog or just make it crazy. |
 |
| Step 11: Add some eyes if you'd like. |
 |
| Step 12: Grab a threader and pick out some rubber legs. |
 |
| Step 13: Pull the legs through. |
 |
| Here's a detailed look of the legs. |
 |
| Step 14: Get some clear coat. |
 |
| Step 15: Make it shine! Special Note: If the marker isn't completely dry the colors will blend a little (I like that), however some of the marker color will come off on the clear coat brush then back in the bottle (that's not that great). You could drip a little on and apply it with a bodkin to avoid that. |
 |
| Step 16: Add some legs however, and with whatever, you want. You can do this while the clear coat is still a little tacky just be careful. You can add another clear coat layer if you'd like once your done. |
 |
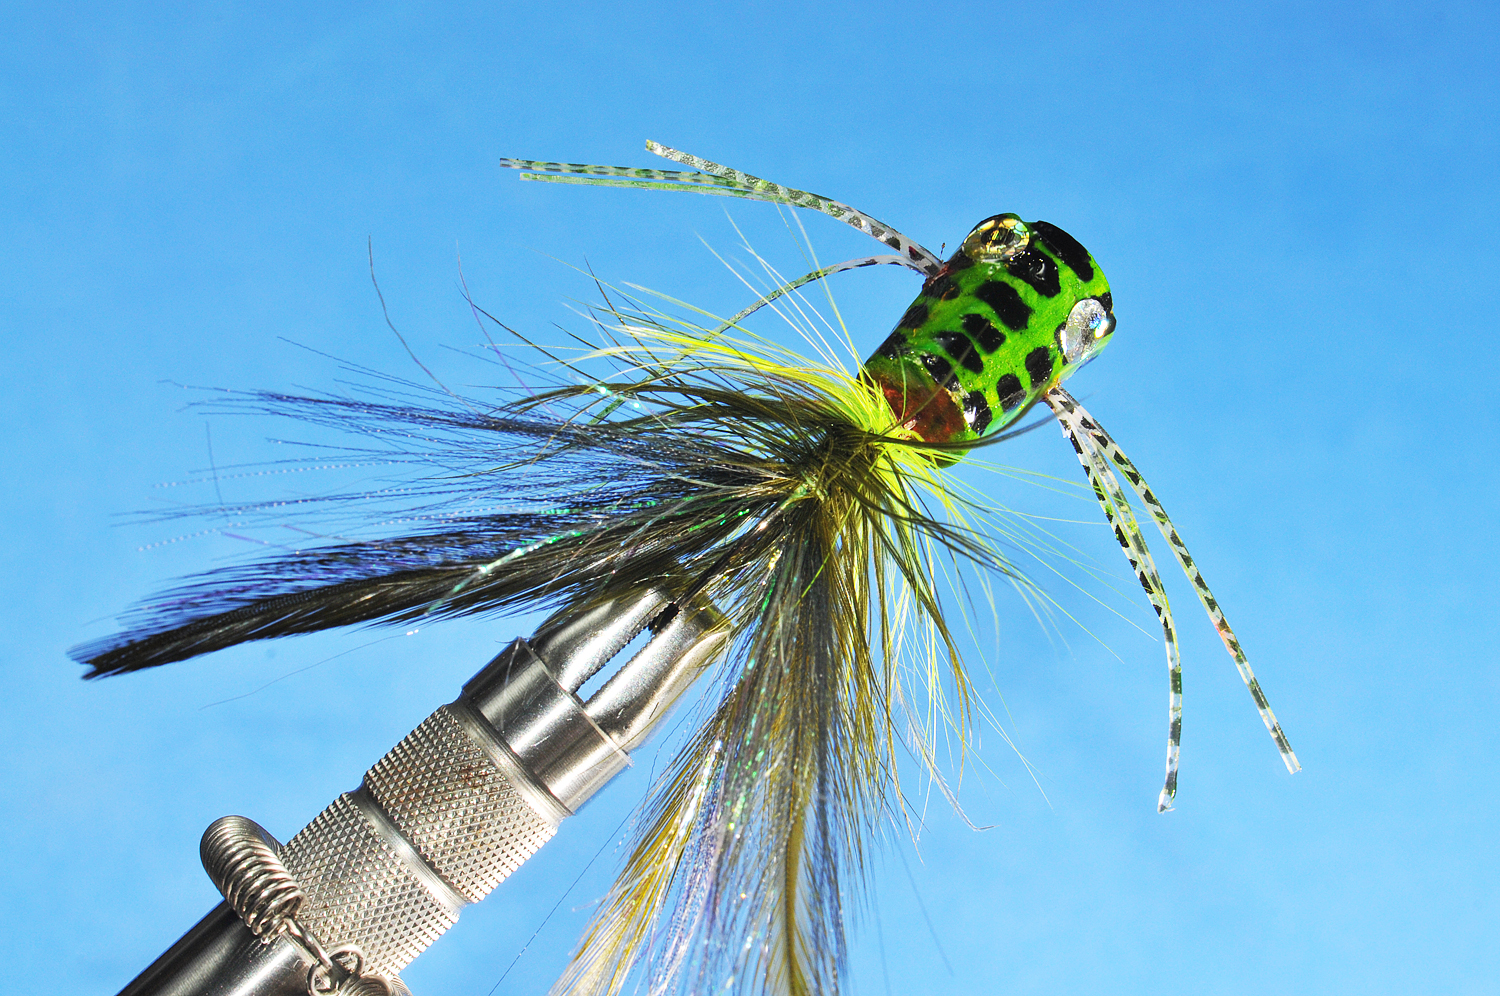
| Step 17: Go fishing and enjoy! |


Comments
Thanks e.m.b., let me know how they turn out!
I used Elmers wood filler. Take a bit of it and mix in a little water and it applies fairly easily. You do need to sand it down once it dries. After doing this to 50 popper bodies a few months ago I realized why people usually skip this step for flies they fish.
Nice work! Bass are awesome!
Thanks Brian!
Good luck Pete, take your time with these and they are super easy and really fun to make!
Appreciate the tip Mike, and thanks for the comment and kind words... you really are the popper guru around here!
http://fishwithkev.blogspot.com/2011/07/poppers-and-pork-chops.html
http://i746.photobucket.com/albums/xx106/tomhardy/P1030876.jpg
http://i746.photobucket.com/albums/xx106/tomhardy/P1030877.jpg
http://i746.photobucket.com/albums/xx106/tomhardy/P1030878.jpg
http://i746.photobucket.com/albums/xx106/tomhardy/P1030879.jpg